
How to Build Your Own Survival Fishing Kit
Most people assume that the standard survival fishing kit includes ~25’ of fishing line, a couple of pellet weights, and a handful of assorted hooks. This is only a good start! There are many other small, lightweight options to add to your survival fishing kit to ensure that you will indeed be successful in catching a fish!
In this article, Our Fishing Expert Flannel going to show you how to put together an incredible survival fishing kit.
For more than a decade I have spent my time adventuring around the world. I began by crossing the United States three times on foot (Appalachian Trail 2006, Pacific Crest Trail 2009, and Continental Divide Trail 2010).
Before and after my long distance thru-hikes I spent years in South and Central America, slashing my way across deadly jungles, exploring active volcanoes, or chasing the highest peaks on Planet Earth outside of the Himalaya.
I have carried many survival fishing kits throughout the years and they have expanded slowly to contain all of the necessary items you will need to have real success!
Basic Breakdown
In your survival fishing kit you will need, in addition to the line, weights, and hooks; a container, a line management device, artificial bait or lures, and floats.
However, this depends on where you go, because if you are handy with a machete, you might have better luck with that in your hands!
I was backpacking through the dense jungles of Panama when I picked up a trick from the local indigenous tribes, how to catch fish with a machete. The tribes of the Kuna and Embera (Southern Panama, along with the border with Colombia) wait until dark, head to the river banks with their machetes, and flash a light above the water to attract the fish to the surface where they can be easily dispatched. The light both attracts and blinds them temporarily; they never see the machete chop coming. The only downside to this method is that the crocodiles and caiman who frequent the same rivers love stealing the fish!
Where and When to Use Your Survival Fishing Kit
Anytime you step off the beaten track, along a hiking trail, down an uninhabited waterway in your kayak, or even driving along a seldom-used roadway with little or no traffic, you run the risk of being put into a survival situation. Of course, a survival fishing kit is only one of the items you should be carrying in your inventory as an insurance policy!
The Line
I would suggest 25-50’ of a higher test line (8-10lbs+). When fishing by hand, even with a flexible sapling as your rod, you will not be able to play the fish as much. If you hook a large fish who runs with your bait there will come a point you need to bring him to the bay and with a lighter test line that fish has a higher probability of breaking free.
Picking the line when you’re fishing for sport is far different than when you’re selecting one for survival. Losing that fish could mean that you do not eat that night. Not eating that night depletes stores of energy you need to remove yourself from the survival situation. I have spent some grim hours using hand lines, desperate for a bite. This is not the time to give the fish a fighting chance with a lighter test line!
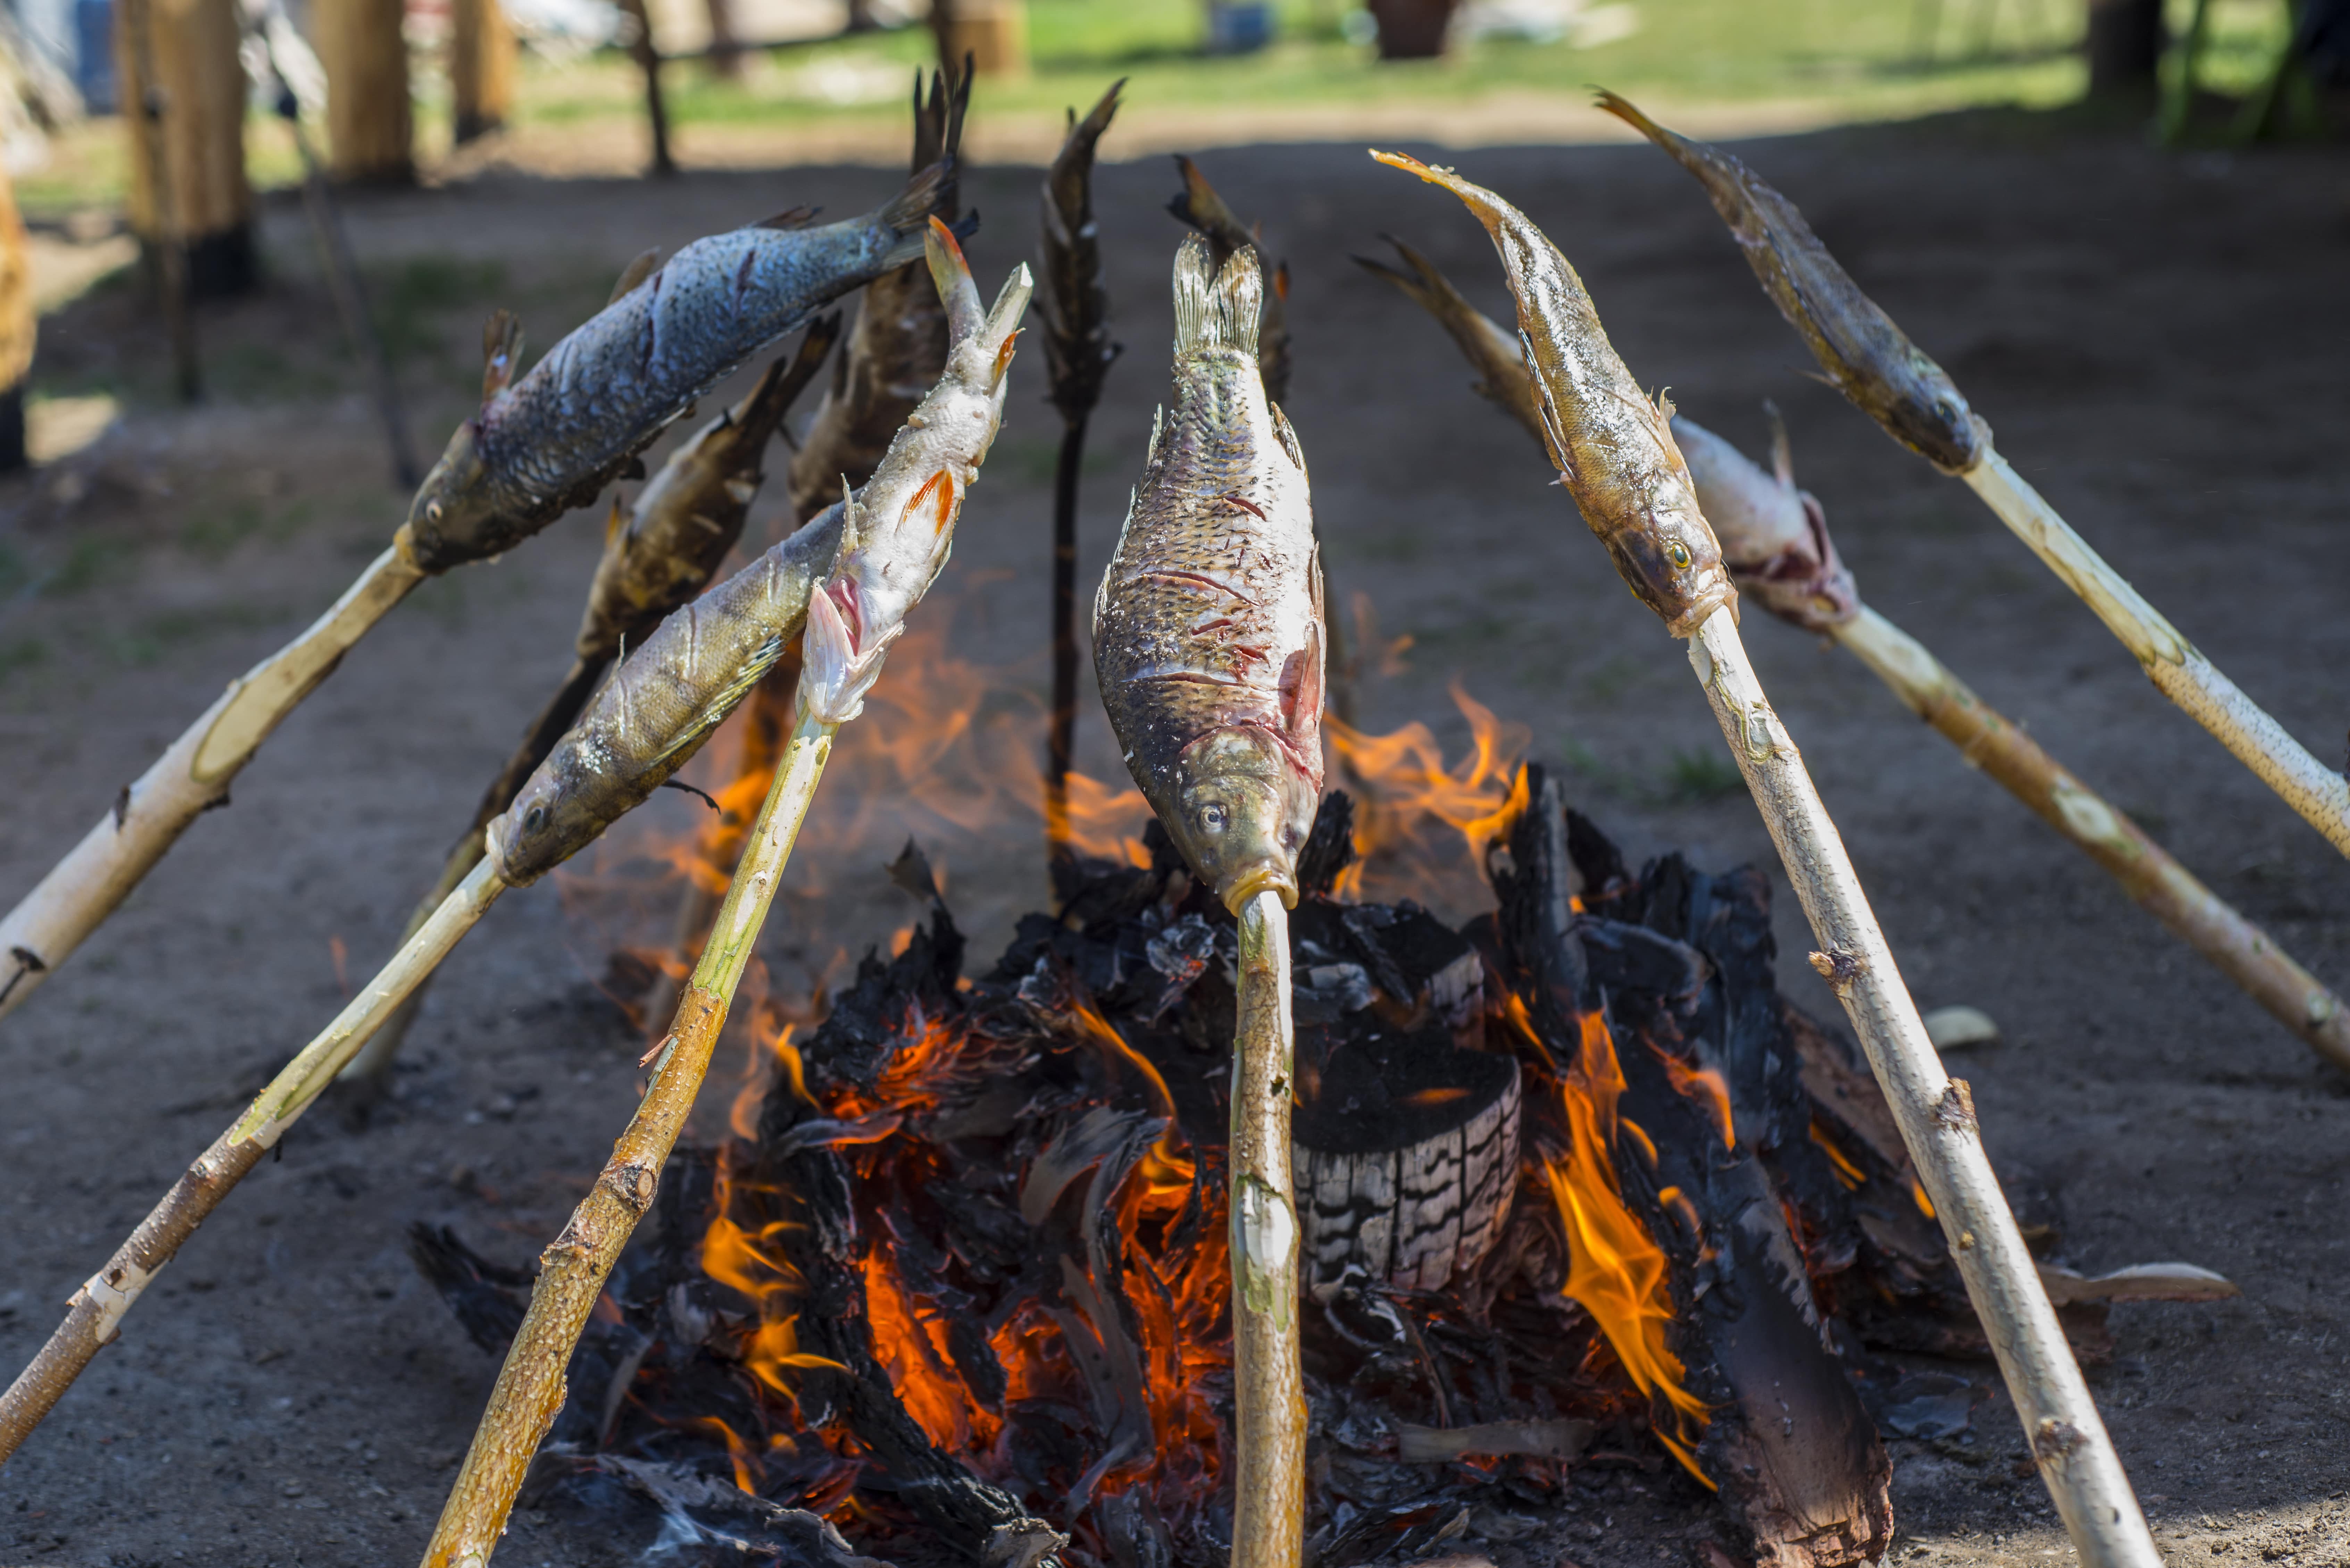
After water, food is key in a survival situation. The vast majority of survival situations end in self-rescue. With a survival fishing kit, you simply increase your chances of being able to rescue yourself by ensuring you can get those valuable calories.
The Hooks
A variety is needed but stay away from the larger hooks. A smaller hook can land both a small fish and a large fish, and in a survival situation, you are not in the situation to be picky. Choose high-quality hooks with accented barbs to make absolutely sure you have the best chance of landing the fish.
The Weights
This is simple; 5-10 small split-shot weights will work fine. Include the higher quality ones with the ability to open and close the weight from the back, rather than the single use round ones. You should have a knife or multi-tool to open them, but for the purposes of the survival fishing kit let’s pretend you have found yourself with only this kit in your pocket and need to make it work.
The Artificial Baits and Lures
Wait, this is a survival fishing kit, so why are we amping it up with things like this? First of all, contrary to popular belief, you will not always be able to find sufficient live or natural baits.
I was climbing on the border of Bolivia and Peru, in a little-known glaciated mountain range called Apolobamba, and my partner and I spent an afternoon attempting to find natural bait to fish within a high-altitude lake we were camped beside. One small minnow is about all we gathered, no worms, no beetles, and only one sickly nymph. Of course, this was not a true survival situation, rather a rest day between climbs; when high-altitude mountaineering a person burns roughly 10,000 calories per day and on extended expeditions, there is no way to carry this much food.
In your survival fishing kit include several small flies, like the ones you use fly fishing.
These can be used without weights and with about 10’ of line and a stout 7-8’ pole you can send this quite far without tangles. More line and the fly will not be sufficient weight to cast, and you can not weight this down or you lose the functionality of the fly to sit on the surface. Chose a couple of different colors and styles so if you are not having luck you can present something else to the fish. This adds virtually no extra weight or bulk to your survival fishing kit, yet expands your options tremendously!
I would leave the heavier lures and spinner baits behind. The treble hooks will be an issue in a small, flat kit (wait for my line management device to see why) and without the capacity to cast far and retrieve at regular speeds, this might not work. The only spinner I have ever included is a ¼ Rooster Tail.
A crappie jig or similar lure is a weighted, fluffy bait that can sometimes induce a strike. It will easily fit in your kit and expand your options.
A MUST HAVE for your survival fishing kit is a small package of salmon eggs. These weigh virtually nothing and in many areas of the world will induce a vicious, instinctive strike from the fish you need to survive.
Insider Tip: These salmon eggs will dry out quickly and you want to rely on them being fresh for your survival situation. Take a standard plastic bag (freezer weight) and cut the corner off, creating a small, triangular bag. Fill ¾ with salmon eggs and press out the air; use a lighter or match to melt the open side of the triangle together for a small, sealed container of salmon eggs!
The Floats
If you don’t have a small commercial bobber or float handy, a small section of packing foam will do just as nicely for your strike indicator!
The Container
You need something to carry this survival fishing kit in, right? An old mint tin, a small plastic box, an empty bottle, anything you have lying around will work well. However, the go-to favorite for my survival fishing kit is simply a freezer-weight resealable zip-lock bag! This allows the kit to pack into a backpack easily, and the extra space in the bag can be used to carry edible plants and berries, a map, waterproof matches, etc. I generally use a 1qt bag and fold it over. The survival fishing kit I use only fills about ½ the bag and does not use anywhere near the full width, so you can almost carry this in your wallet (depending on how you design it).
The Line Management Device
This sounds far more complicated than it actually is, but it brings this all together. Sure, you can coil the line neatly, use a bit of tape to stop it from unraveling, but we are not actually in the survival situation yet, so let’s do a bit of work and make sure we have prepared the best possible survival fishing kit. I am sure you have a bit of cardboard lying around, right? Choose a thicker sheet of high-quality cardboard and cut a 4”x6” shape from it. Don’t be too worried if it is a little larger or a little smaller, depending on your kit you can adjust the size. At the top and bottom edges cut out a small rectangle, making an “H” with a thick crossbar.
The Assembly
Now that you have the key parts, it is time for the assembly. Tape one end of your line to the middle of your “H” shaped line management device and coil the line around the crossbar, taping the free end when complete. You can easily remove and replace this now, be being that we have made a sort of homemade spool. On the long sides of the “H” insert your hooks and lures to keep them from sticking something else, and if you have the room you can even tape your split-shot weights along one broadside. Drop this into your container with the salmon eggs and floats and you are ready to go!
I hope you never need to use this survival fishing kit, but if you do, you are ready to present the best you can in a tough situation. Good luck!